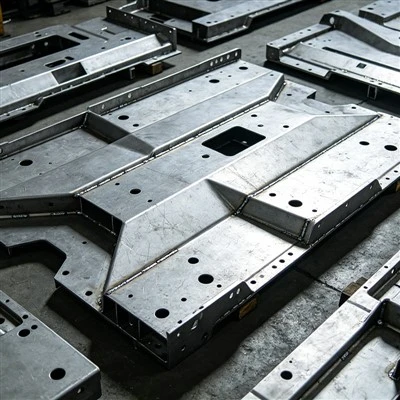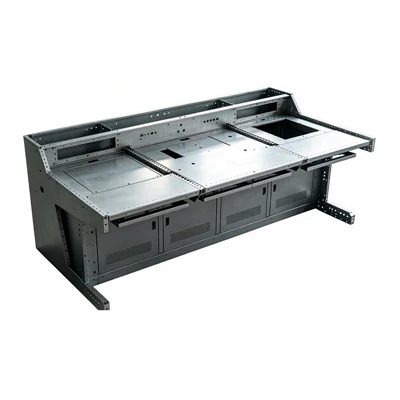

Installing a battery storage enclosure outdoors can be a game - changer for your energy management system. It allows you to store excess energy generated during the day and use it during peak hours or when the power grid fails. As a battery storage enclosure supplier, I've seen firsthand the benefits of these enclosures, and I'm here to guide you through the installation process.
1. Planning Your Installation
Before you even think about digging holes or lifting heavy equipment, you need to do some thorough planning.
Location Selection
The first step is choosing the right spot for your battery storage enclosure. You want a place that is level to ensure the enclosure sits evenly. Uneven ground can cause stress on the enclosure and its components over time. Make sure the area is well - drained to prevent water from pooling around the enclosure, as water can damage the batteries and electrical components.
Also, consider the accessibility of the location. You'll need to be able to reach the enclosure for maintenance and inspection. And keep it away from flammable materials and areas prone to flooding or wildfires.
Checking Local Regulations
You can't just plop a battery storage enclosure in your backyard without following the rules. Reach out to your local building department and find out what permits you need. Some areas have strict regulations regarding the size, location, and safety features of battery storage systems. Ignoring these regulations can lead to fines and even having to remove the enclosure.
2. Preparing the Site
Once you've got your plans in order, it's time to prep the site.
Leveling the Ground
Use a level and a shovel or a small excavator to make sure the ground is flat. You can add or remove soil as needed. If you're installing the enclosure on a large scale, you might want to consider using a professional grading service. A proper level is crucial for the stability of the enclosure.
Marking the Dimensions
Measure and mark the dimensions of the enclosure on the ground. You can use stakes and string to create a clear outline. This will help you place the enclosure accurately and ensure there's enough space around it for ventilation and access.
3. Assembling the Enclosure
Most battery storage enclosures come pre - fabricated, but you'll still need to put the pieces together.
Reading the Manual
This might seem obvious, but I can't stress it enough. Every enclosure is different, and the manufacturer's manual is your best friend. It'll tell you how to assemble the parts, what tools you need, and any safety precautions to take.
Inspecting the Parts
Before you start assembling, check all the parts for damage. Look for dents, scratches, or any signs of corrosion. If you find any issues, contact us right away as a battery storage enclosure supplier. We'll make sure you get replacement parts.
Assembly Process
Follow the step - by - step instructions in the manual. Usually, you'll start by attaching the base, then the sides, and finally the top. Use the appropriate fasteners and make sure everything is tightened securely.
4. Installing the Batteries
Once the enclosure is assembled, it's time to install the batteries.
Safety First
Batteries can be dangerous, so wear appropriate safety gear like gloves and safety glasses. Make sure the area is well - ventilated to prevent the buildup of any potentially harmful gases.
Battery Placement
Place the batteries in the enclosure according to the design. Make sure they're properly spaced and secured. You don't want them moving around during operation.
Electrical Connections
Connect the batteries according to the wiring diagram provided. Double - check all the connections to ensure they're tight and secure. Loose connections can cause overheating and other electrical problems.
5. Connecting to the Power System
After the batteries are installed, you need to connect the enclosure to your power system.
Working with a Professional
This part can be tricky, so it's recommended to work with a licensed electrician. They have the knowledge and experience to make sure the connection is safe and up to code.


Testing the System
Once the connection is made, test the system to make sure everything is working properly. Check the battery levels, the charging and discharging cycles, and the communication between the enclosure and the power system.
6. Maintenance and Monitoring
Installing the battery storage enclosure is just the beginning. You need to maintain and monitor it regularly.
Regular Inspections
Inspect the enclosure for any signs of damage, especially after extreme weather conditions. Check the battery connections, the ventilation system, and the overall structural integrity.
Cleaning
Keep the enclosure clean to prevent the buildup of dirt and debris. You can use a soft brush or a cloth to clean the exterior and interior of the enclosure.
Monitoring the Performance
Use a monitoring system to keep track of the battery performance. This will help you identify any issues early and take appropriate action.
Related Products
If you're interested in other types of enclosures for your energy management needs, we also offer a range of products:
- PLC Control Cabinet Enclosure: Ideal for controlling and monitoring your electrical systems.
- Sheet Metal Energy Meter Enclosure: Protects your energy meters from the elements and tampering.
- Stainless Steel Outdoor Enclosure: Durable and resistant to corrosion, perfect for outdoor use.
- Home Inverter Cabinet: Keeps your home inverter safe and secure.
- Irregular Metal Enclosure: Customizable for unique applications.
Conclusion
Installing a battery storage enclosure outdoors is a great way to take control of your energy usage. By following these steps, you can ensure a successful installation and long - term performance. If you have any questions or are interested in purchasing a battery storage enclosure, don't hesitate to reach out. We're here to help you with all your energy enclosure needs.
References
- General Electric. Battery Storage System Installation Guide.
- Tesla. Energy Storage Product Manual.
- Local Building Department Regulations.